
In the mountains, it is important to know well how to tie & lace your hiking shoes in order to improve comfort and security. Let’s just say, good lacing techniques represent 3 main advantages : your foot is well maintained, frictions are reduced (so is the risk of having blisters), and last but not least your laces don’t go undone while you are walking ! So, ready to become an expert in how to lace your pair of boots?
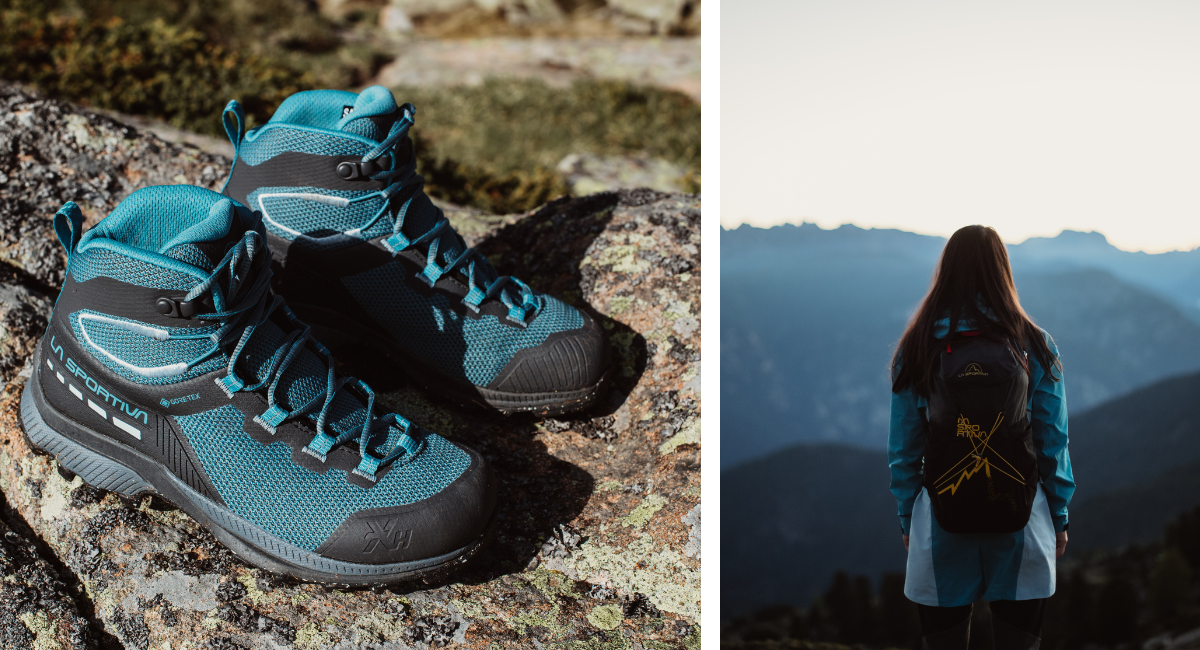
Lacing your boots : shoe anatomy
Before giving you away all the tricks to go and climb like a chamois, we would like to remind you some basics of hiking shoes. Depending on the model that you choose, 3 main lacing system exist :
- Cloth grommets : located on the lower part of the shoe, they require a specific lacing system
- Grommets with ball bearing : they are metal grommets which enable an easier tying
- Lace hooks : Often located on the higher part of the shoe (high stem) they enable you to finish the tying of your lacing shoe.

Lacing your hiking boots : foot positioning
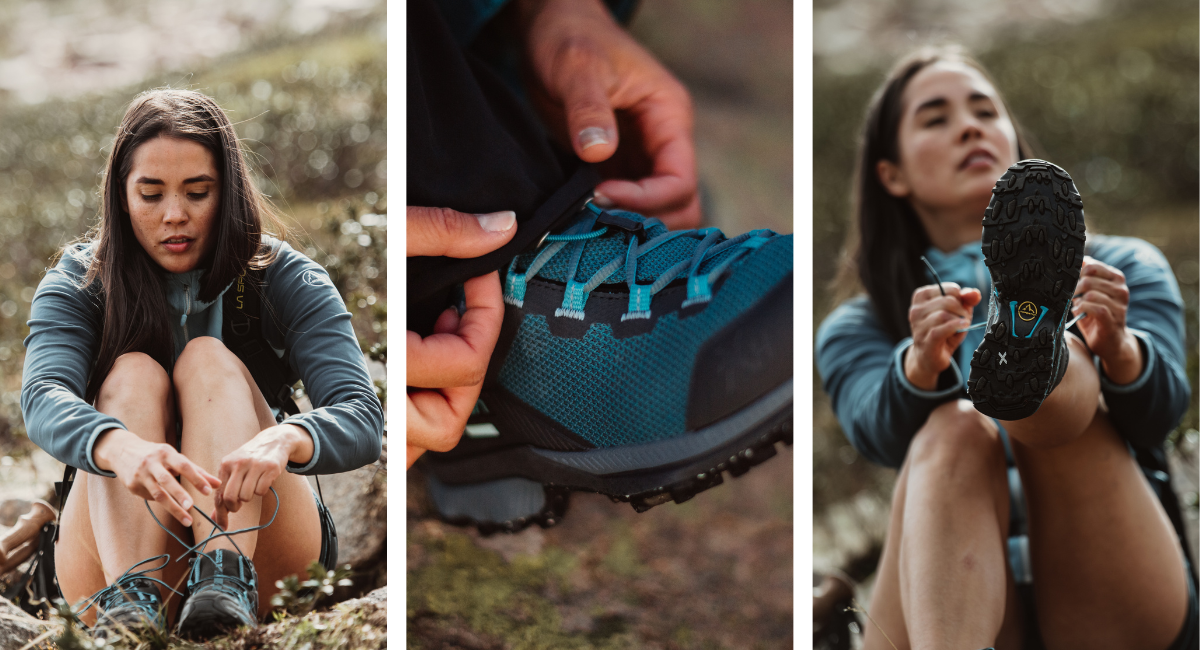
The first thing to do when you put on your hiking shoes is to well position your foot. To do so, we recommand that you place your heel at the rear end of the shoe, this way, the rest of the foot can naturally position itself.
If your shoes are new, remember to well place the puller, this will avoid folds to appear. It will therefore take the form of your feet and stay in lined with your foot during your hike.
Tying well your hiking shoes : the steps
Once your foot is well in place, you need to distinguish the tying of the lower part from the tying of the upper part.
Tying the lower part of your hiking shoes : For grommets with ball bearing shoes
For shoes with grommets with ball bearing, the lacing system is really easy as you only need to pull on your laces to distribute the tension on all of your foot. In fact, this is due to the metal grommets, which enable to make the laces slide easily to the top without creating pressure points. Remember however to not tying your laces too tight to avoid blood having trouble circulating!
Then, spot on your shoes, the positioning of the first hook. It's at this point that you need to come and lock the lacing of the lower part of the foot with two loops to stop the tension. If the shoe has a blocker, in this case, use it to lock the first tying.
Tying the lower part of your hiking shoes : For cloth grommets
For shoes with classical grommets, in cloth, if you pull on the laces, you will take the risk to not distribute well the tension on your foot as the laces do not slide. You therefore need to tie hook after hook while positioning your finger each time to maintain the tension until the end of the lacing.
Then, you will only need to lock the lower part of your shoes, just like shoes with grommet with ball bearing lacing system.
Tying the lower part of your lacing system
Now that the lower part of your hiking shoe is perfectly tied, let’s go into the lacing of the upper part of your shoe, with hooks. Continue to lace your shoes in the classic way, from bottom to top, until the last hook. For the last hook, lace it the other way round, from top to bottom, to maintain the lacing. This second tying will maintain the heel locked and avoid frictions.
Several advantages exist to lace the last hook the other way round :
- The final knot is placed lower to annoy you less going uphill
- Your laces don’t go undone during your hike
- Your laces will not go out of the hooks
Hiking with meters up : do you need to tie more your laces ?
On hikes climbing steeply, when you start going downhill (often long) we recommand that you tighten again the upper part of your shoe for a better ankle support…. This time, you can tie all of your hooks bottom up!

Tying well your hiking shoes : the final knot
To avoid your laces going undone in the middle of your hike, you will be tempted like many hikers to do a simple double knot. To avoid! A double knot has the risk of adding a pressure point to the front of the foot, causing swelling and rashes. We recommend that you go for a figure-of-height knot, typically used in nautical sport or climbing.
Start first by doing a classic knot. Take then each loop, pass it under the laces and then in the loop. Do the same for the other loop! Therefore, for each step, the laces close on themselves and can’t undo!
➤ Hiking shoes - Shop
And voilà! You have now become a lacing expert for your hiking shoes. Do not hesitate to ask for some advices from our expert to help you in your material choice. You can contact our team of experts on the +33 (0) 1 84 67 14 24 or by message through our Customer Care Center. We will be delighted to be able to help you and answer any questions!